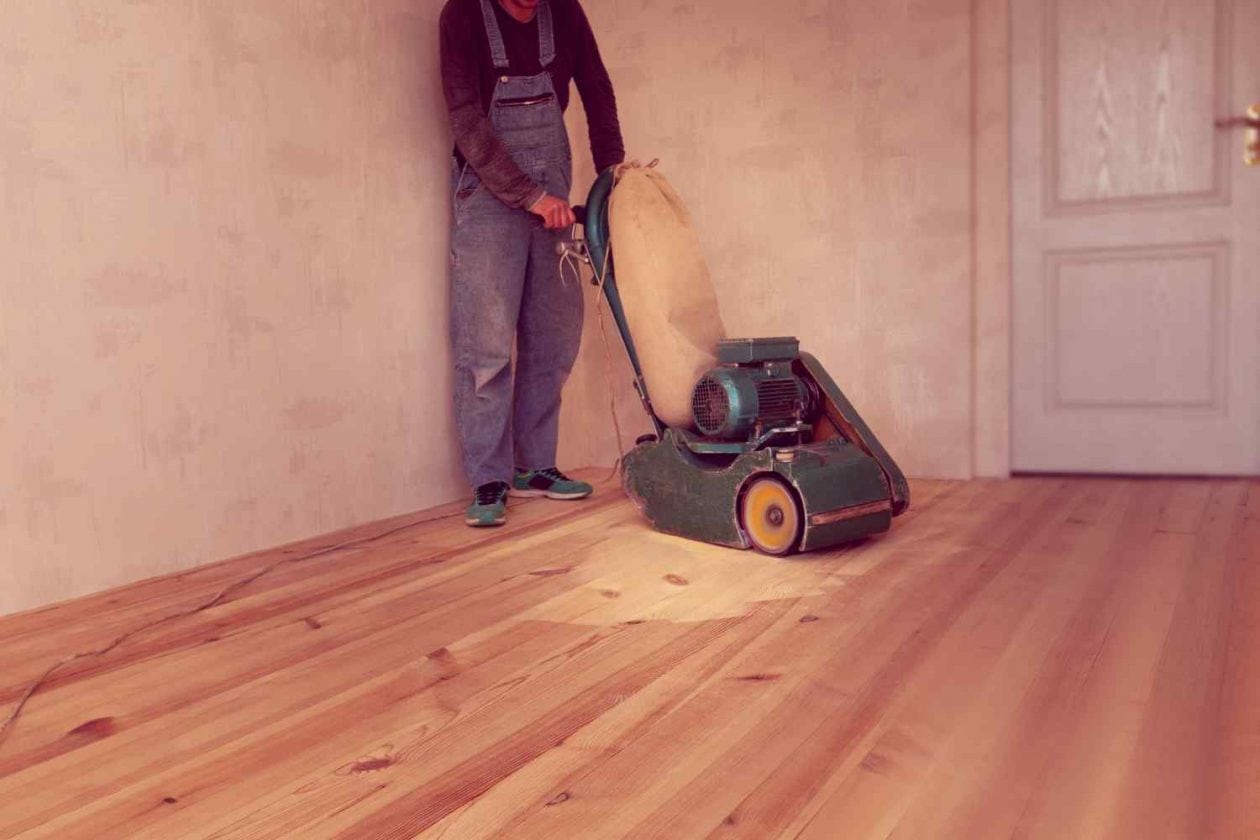
Are your wooden floors in need of a new lease of life? Wood floor sanding is an essential process to restore their natural beauty and increase their durability. By properly preparing your home for this project, you can ensure a hassle-free experience and achieve the best possible results. In this article, we’ll delve into the importance of home preparation before wood floor sanding, discuss the numerous benefits it brings, and provide you with valuable insights that will make the process a breeze. So, let’s get your home ready for a stunning floor transformation!
The Importance of Home Preparation
Preparing your home for the sanding service must be a primary objective. By taking the appropriate measures you would be able to save to time, means and efforts.
Minimising dust and debris
A wood floor sanding service can produce a considerable amount of dust and dirt particles. In order to minimise the impact on your living space, you should take the necessary precautions before the process begins. Proper home preparation helps to keep your rooms clean and dust-free, making post-sanding clean-up much more feasible.
Protecting furniture and belongings
Before the sanding starts, it’s pivotal to protect your furniture and personal belongings from potential damage. Taking the time to move and cover items will not only ensure their safety but also make it easier for the floor sanding professionals to work efficiently.
Ensuring a smooth and efficient process
When your home is well-prepared, the floor sanding process can run smoothly and efficiently. This allows the professionals to focus on their work without interruptions or delays, ultimately ensuring that your wood floor to be sanded to perfection.
Reducing overall project time and costs
Proper home preparation can also help to reduce the time and costs associated with the project. By clearing the space and protecting your belongings, you can avoid any unnecessary setbacks or damages that may arise during the process. In the long run, this can save you both time and money.
Safety considerations during sanding wood floors
The safety of the residents and the floor sanding professionals is of utmost importance. If you prepare your home, you can reduce the risk of accidents, such as trips and falls, and create a safe working environment for everyone involved.This ensures a successful and stress-free experience for all parties.
Clearing the Room
Take an extra step of preparation by removing all the furniture or some of them, removing curtains and blinds, and disconnecting the appliances from the network.
Removing furniture and bulky items
Before the floor sanding process begins, it’s essential to remove all furniture and bulky items from the room. This not only protects them from dust and potential damage but also provides the floor sanding professionals with complete access to the entire floor area, allowing them to work more efficiently.
Taking down curtains and blinds
Curtains and blinds can easily accumulate dust and debris during the sanding process. To prevent this, it’s a good idea to take them down and store them safely in another room until the project is completed. It would also maximise natural light in the room, making it easier for the professionals to see their work.
Rolling up and storing rugs and carpets
Any rugs or carpets in the room should be rolled up and stored away. Not only will this protect them from dust and debris, but it will also ensure that the entire wooden floor is exposed and accessible for the professionals to work on.
Disconnecting electrical appliances and electronics
As a precautionary measure, it’s wise to disconnect any electrical appliances and electronics in the room and cover power sockets and switches with tape to keep them dust-free. It would further help to prevent potential accidents or damage caused by dust and debris entering delicate components.
Protecting Your Belongings
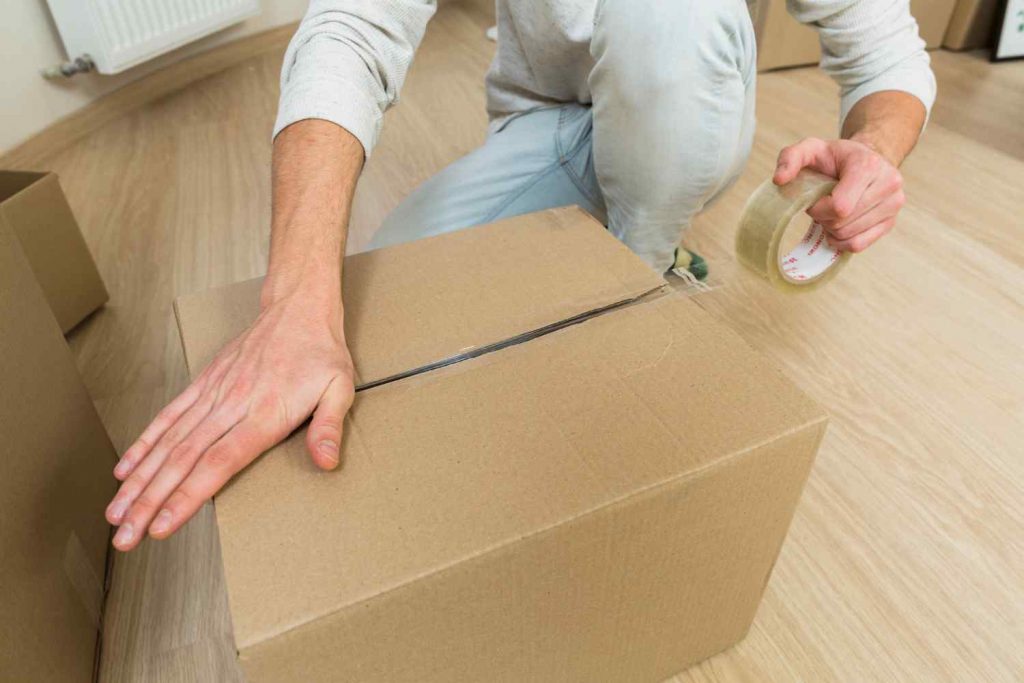
Regardless of how much you have spent on your belongings, you want to protect them by any means. Here are a few things to consider based on Alpha Floor Sanding team’s expertise.
Cover the items that can`t be moved
Some people might have large or immovable items that need to remain in the room during the sanding process. To protect these items from dust and debris, cover them with dust sheets or plastic sheeting. Make sure they are securely fastened to prevent any dust from slipping through.
Sealing cabinets, bookshelves, and other storage units
Cabinets, bookshelves, and other storage units can harbour dust during the floor sanding process. To protect their contents, seal them with tape or plastic wrap. This will prevent dust from entering the units and damaging your belongings.
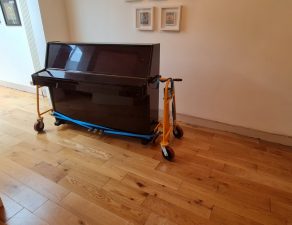
Moving delicate and valuable items to a safe location
When preparing your home for floor sanding, it’s essential to move delicate and valuable items to a safe location. This might include artwork, antiques, or collectibles that could be damaged by dust or accidental knocks. By moving these items out of the room, you’ll ensure their safety and reduce the risk of costly damages.
Creating an inventory of items in the room before moving
Before relocating items from the room, consider creating an inventory list. This will help you keep track of your belongings and make it easier to return them to their original positions once the sanding process is complete. Additionally, having an inventory can provide peace of mind, knowing that all your items are accounted for during the project.
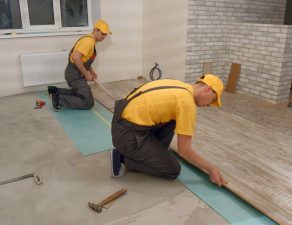
Preparing the Floor
Inspecting for loose or protruding nails
Our Alpha Floor Sanding team recommends inspecting the floor for any loose or protruding nails before, because these can cause damage to the sanding equipment or create an uneven finish. If you find any nail heads sticking out, hammer them down or remove and replace them with suitable fixings.
Filling gaps, cracks, and imperfections
If you are aiming at a successful outcome, it’s essential to fill any gaps, cracks, or imperfections in the wooden floor before sanding. This ensures a smooth, even surface for the professionals to work on. Use a suitable wood filler or putty, following the manufacturer’s instructions for best results.
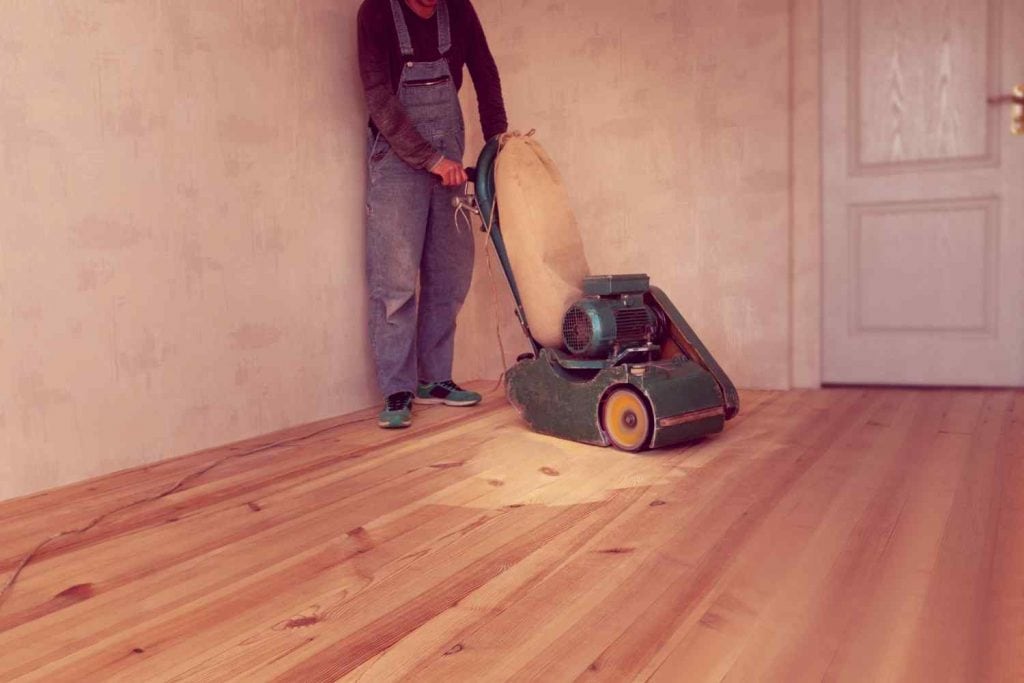
Cleaning the floor surface with a vacuum or soft brush
Before the professionals arrive, give the floor a thorough clean with a vacuum cleaner or soft brush. This will help to remove any dirt, debris, or loose particles that could interfere with the sanding process. A clean floor also ensures that the sanding equipment operates at its best, providing a high-quality finish.
Ensuring a dry and stable environment
The humidity and temperature of the room can impact the sanding process and the subsequent application of finishes. To ensure optimal results, maintain a dry and stable environment in the room by controlling the humidity and temperature. If possible, avoid scheduling the floor sanding project during periods of extreme weather or high humidity.
What information would your floor sanding experts need?
Navigate through the most important specifics that your experts might require to provide you with the finest service. You don’t want any small miscommunications to convolute your day and dampen the experience.
Parking
Parking as close as possible to your home or elevator access is more important than you think. As the equipment the professionals are carrying and the machinery they are using will be quite heavy, it is vital to introduce them to the parking situation to avoid complications on the day.
Floor condition
If there are loose boards or, any imperfections or damages to your floors would be sensible information for them, so they can prepare in advance and provide you with a resolution. If there are adhesive or paint marks on your floor, your expert might need to bring a particular sanding machine – a drum sander.
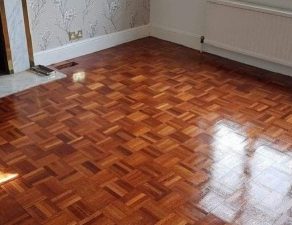
Types of flooring
It’s essential for your expert to know what type of flooring you have so he can prepare accordingly. Regardless if you have hardwood floor, parquetry, bamboo or cork flooring they need to know. For example not all cork floors can be sanded as they are too soft. If your cork floors have a thickness of less than 4mm, sanding is unsuitable and can lead to permanent damage.
Personal instructions
If you have any personal instructions don’t hesitate to share them with your professionals. If you want them to start with a particular room so it will be less stressful for you to manage the cleaning afterwards or if you’d need some help with lifting some of the furniture, just express your opinion and guidelines.
Post-Sanding Clean-Up Tips
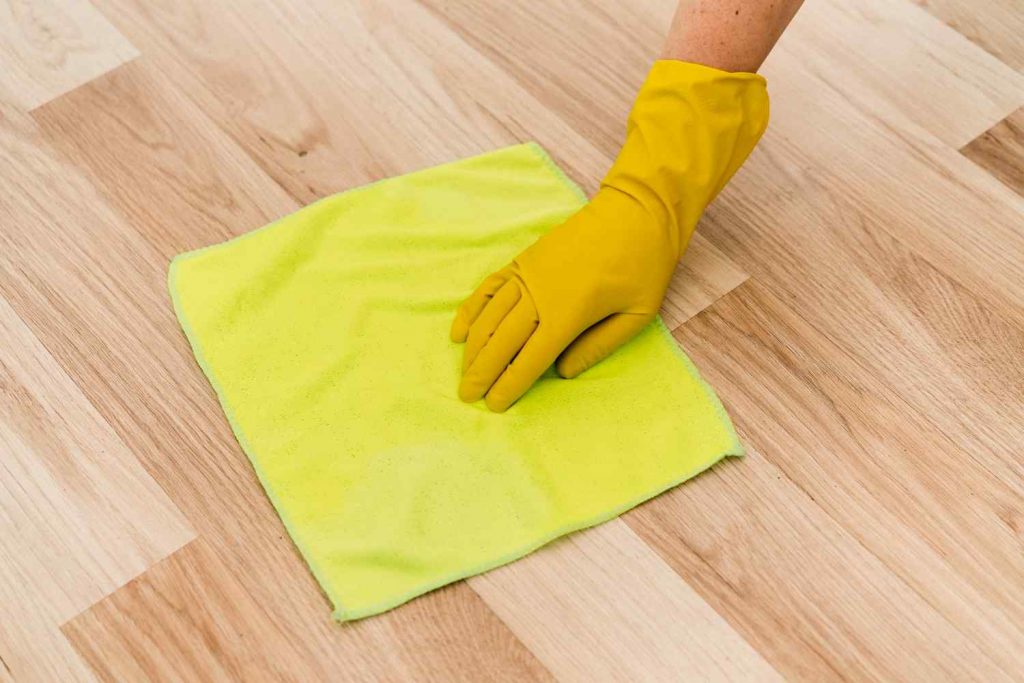
Removing dust and debris
Once the sanding floors process is completed, start by removing any remaining dust and debris from the room thoroughly. When vacuuming the floor, make sure to reach all corners and edges. Follow up with a microfibre mop or cloth to remove any fine dust particles that may have been missed by the vacuum.
Cleaning surfaces, windows, and fixtures
Dust from the sanding process can settle on surfaces, windows, and fixtures throughout the room. To ensure a clean and dust-free environment, wipe down all surfaces with a damp cloth or use a suitable cleaning product. Don’t forget to clean window sills, skirting boards, and light fixtures.
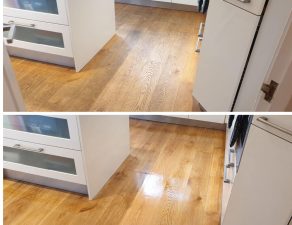
Inspecting the floor for any remaining imperfections
Before applying any treatments or finishes to your newly sanded floor, take the time to inspect it for any remaining imperfections. If you spot any issues, such as missed spots or uneven areas, inform the floor sanding professionals so they can address the problem before proceeding with the floor finish process.
Choosing a Reliable Floor Sanding Company
Selecting the right floor sanding company is crucial for achieving the best possible results. We have a comprehensive guide to help you choose a reputable and reliable floor sanding company that meets your needs. Be sure to check the Alpha Floor Sanding team’s advice on researching and comparing local options, checking reviews and testimonials, ensuring proper certification and insurance, and obtaining quotes to compare prices.
Final thoughts
Preparing your home for wood floor sanding is an essential step in ensuring a smooth and successful project. By following the tips and advice outlined in this guide, you’ll minimise dust, protect your belongings, and create a safe working environment for the professionals. Proper home preparation also allows the floor sanding process to run efficiently, reducing overall project time and costs. Remember to communicate with your chosen floor sanding company to address any concerns or questions you may have throughout the process. By taking these steps, you’ll be well on your way to revitalising your wood flooring and enjoying their restored beauty for years to come.